Showing posts with label Cookies. Show all posts

Wednesday, January 22, 2020

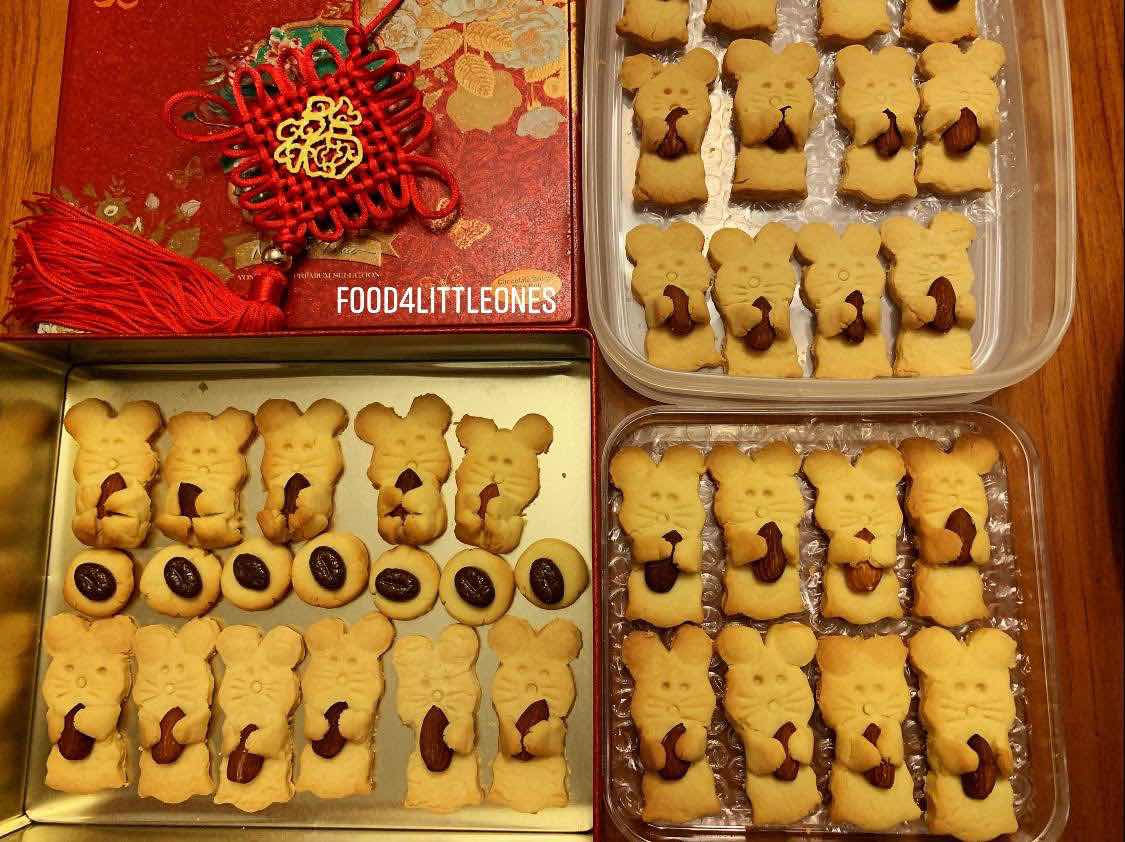
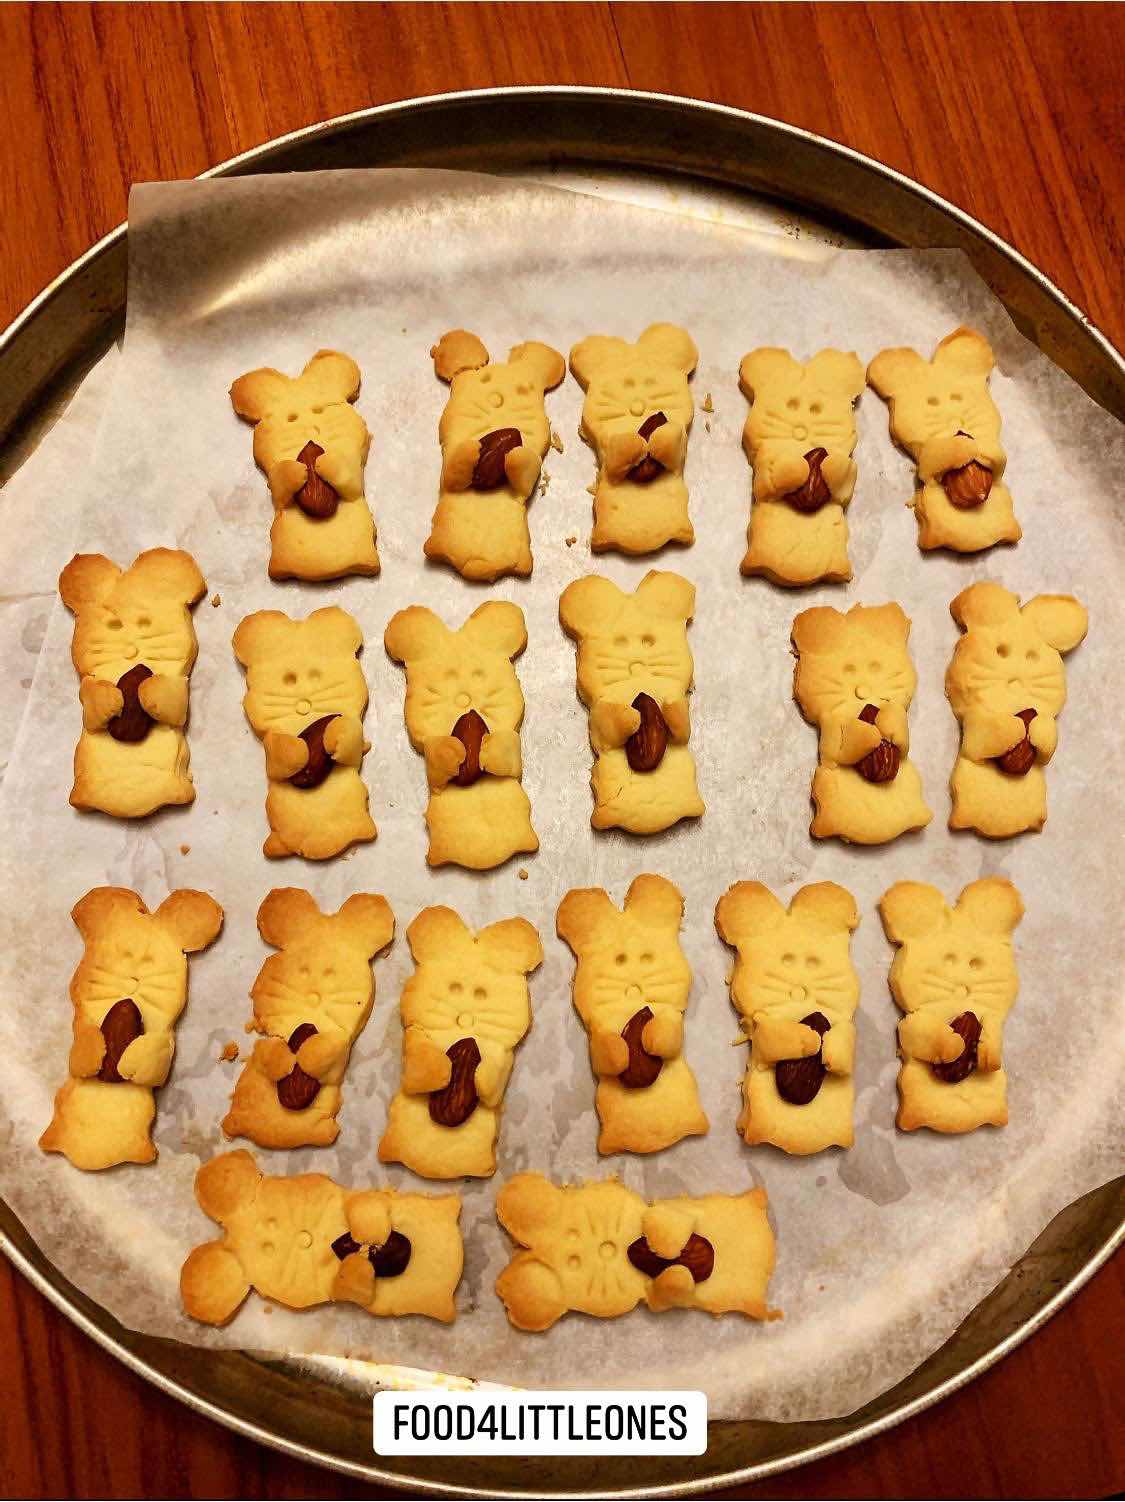
CNY Special: Little Mouse Butter Cookies 金鼠抱喜


It’s been a long long while since my last uploaded any recipe as the work and family life as taken up a big part of my time, commitment as a working mom/daughter/wife is just too daunting. Anyway, this is one worth keeping. It’s a tested recipe by other blogger (see original link below) but the design is original ;)
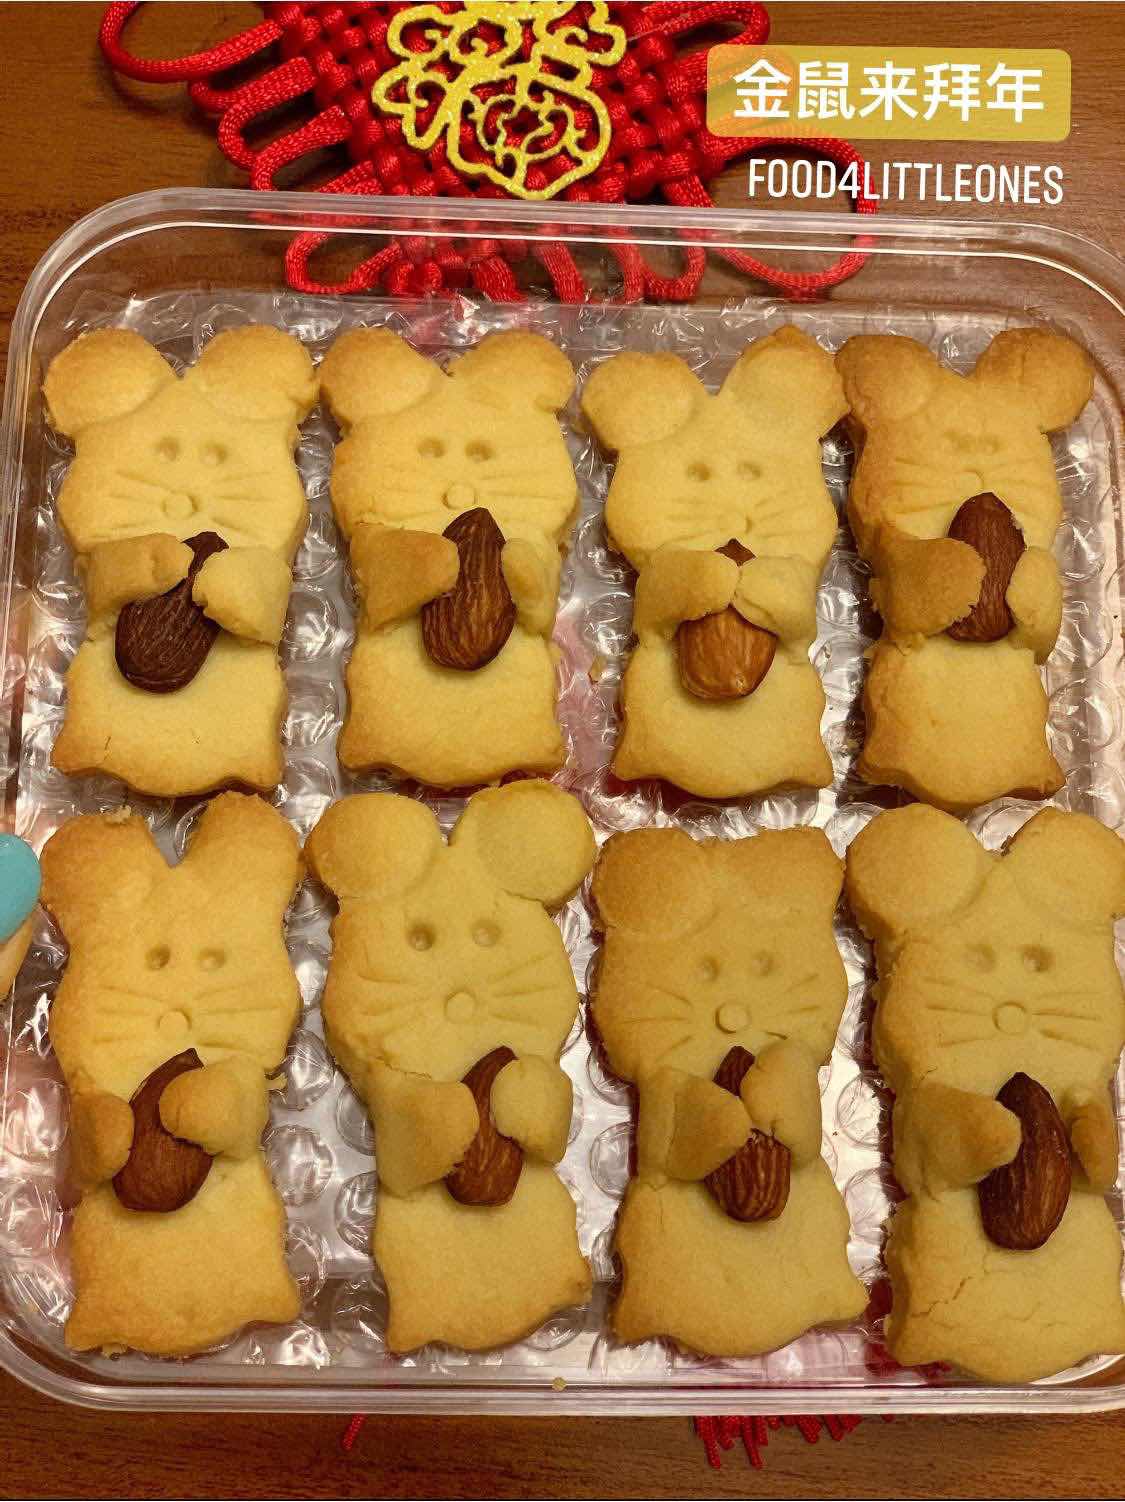


Little Mouse Butter Cookies 金鼠抱喜

The Ingredients: 
  • 90g unsalted butter at room temperature 
  • 40g icing sugar, sifted
  • 15g egg yolk (use medium egg)
  • 170g cake flour (super fine flour), sifted
  • A pinch of salt (I omitted this)
  • 30-40 roasted almonds or cashews
The Making:
  1. Preheat oven at 150°c, brush the baking tray with butter or spray with a layer of cooking oil, and place a piece of parchment paper over.
  2. Cream butter and icing sugar using K mixer on high speed until the mixture became pale and creamy, add the egg yolk.
  3. Add the flour bit by bit, the salt, and continue mixing until you get a well mixed, non-sticky dough.
  4. To make the cookie into shape, I used a bear cookie cutter and modified the ear shape using my cake modeling tool (see picture). Make sure use both hands to hold onto the nut.
  5. Bake in middle tray for 10-12min, or until golden brown. Let cold before you store them in air tight container. 


Useful Tips: 
  • to avoid the cookies from cracking, make sure the cookie dough is thick enough - around 1cm. I made mine a bit too thin so quite a few had broken ears and necks *sob*
  • This recipe yield about 30 cookies. To make more just double the ingredients.

Happy baking & wishing you and your family a happy Chinese New Year filled with blessings and happiness.

Original recipe adapted from NasiLemak Lover, you may want to visit her website here :) http://nasilemaklover.blogspot.com/2016/01/nut-hugging-bear-cookies-2016-cny.html

Monday, September 7, 2015

Double Chocolate Cookie Balls


The kids absolutely love chocolate, and so do I. I have been buying them Chipsmore cookies occasionally but when I'm not too lazy, I will bake our favorite double chocolate cookies with reduced sugar. Today happened to be my not-so-lazy day so I started baking while listening to my all time favorite album, French Kiss. 
  

Soft on the inside, crunchy on the outside. It's what I called Love at first bite...


Preparation: 30 minutes
Baking Time: 10-12 minutes
Serving: 14-16 pieces

Original recipe adopted and modified from Food Lovers' Cooking for Children.


Ingredients:
• 100g unsalted butter, cut cubes
• 100g brown sugar 
• 3 tablespoon unsweetened cocoa powder (I used Hershey's)
• 1 teaspoon baking powder
• 1 teaspoon vanilla extract
• 1 large egg, beaten
• 170g all purpose flour, sifted
• 2 palmful / half cup of dark chocolate chips (add more if you wish)
• 1 teaspoon icing sugar (for sprinkle)


The Making:

1. Preheat oven to 180°c, lay a piece of baking sheet over the tray.

2. In a dry mixer bowl, beat butter with sugar until fluffy, then gradually add in the egg, vanilla extract, the sift in the flour, baking powder and cocoa powder.

3. Mix with a spatula until well mixed, then add the chocolate chips.

4. Using your palms, shape one large scope of dough into a round ball and place the cookie dough onto the baking tray, with at least 2" apart from each other.

5. Bake for 10-12min in the middle compartment, the cookies will expand slightly when baking.

6. Once done, remove from oven and let cool for about 10 minutes. Sprinkle with some icing sugar on top and keep in an airtight container. I could never resist to eat one right away, they smell too good to resist!

Enjoy...  ;)


Friday, February 13, 2015

Bite-Size Almond Cookies


Today I met up with my sister, and together we baked some CNY cookies. This is the first time I actually have a baking buddy (apart from my duo) and that was really much more fun than baking alone. :)

Look at these cute little almond cookies.. 


Made in bite size, they are perfect snack for gathering.


What I like most about this recipe is that no special tools required, just a mixer, a brush and and two bare hands. The cookie is so soft and simply melt in your mouth.

Here's the making..


Preparation Time: 30 minutes
Baking Time: 25 minutes 
Serving: about 40-50 cookies 


Recipe courtesy of my sister, Joyce.


Ingredients:
• 150gm Unsalted butter at room temperature 
• 200gm super fine flour
• 20gm milk powder
• 35gm icing sugar
• 1 medium egg yolk
• 10gm custard powder 
• 40 whole almond, roasted at 150°c for 35-40 minutes until golden brown
• 1 medium egg, beaten (for brushing)

 
The Making:
1. Sprinkles some flour over a baking tray, preheat the oven to 150°c.

2. Mix flour, milk powder and custard powder in a large bowl.

3. Using a mixer, beat the butter and sugar until fluffy. Add the egg yolk and continue beating, then add in the flour. Mix well.

4. Wrap the dough with a cling form, store in the fridge for at least 30 minutes.

5. Shape the dough into small ball of about 4cm diameter, press lightly flatten it using the thumb to about 2cm height.

6. Brush the top of the dough with some egg liquid, then press a roasted almond on top. Bake for 25 minutes or until the cookies is golden brown. Watch your temperature closely at the last few minutes.

Let cold, treat yourself with few of this goodies and store the remaining in an airtight container. These cookies shall be good to keep for 3 weeks and they are perfect to be given as a festive gift!


Enjoy!


Tips for Parents...
• When making for little ones under 3yo, suggest to replace the whole almond with almond flakes or almond nibs to avoid risk of chocking.
• If your little one is allergic to nuts or almonds, you may omit the almonds with just egg wash.

Friday, January 30, 2015

Melt-in-your-mouth Butter Cookies 即融牛油曲奇


Bi-lingual | 双语版

I had no intention to bake for this Chinese New Year initially, as I wanted to focus on my family and career plus to have a little extra time for my midnight sewing. But since it's long holiday thanks to Thaipusan and Federal day in the city I live, I have 4 days of off day. Since I have completed my CNY seeing wish list for my little girl, why not bake some goodies? 

I made few varieties of butter cookies this time. Nothing fancy (I know sheep cookies is an Internet phenomenon..), but these little muchies are really melt in your mouth kind of soft and my little ones are loving them. I'm sure they are suitable for old folks too which make them perfect CNY gift!


Here's how...

Ingredients:

Preparation Time: 30 minutes
Baking Time: 12-15 minutes 
Serving: about 40 cookies each recipe

Original Butter Cookies
• 130gm Unsalted butter at room temperature, cut into cubes 
• 190gm super fine flour
• 10gm corn flour
• 50gm icing sugar (reduced from 70gm)
• 50gm/2 medium eggs, beaten
 
B) Chocolate cookies
• 130gm Unsalted butter at room temperature, cut into cubes
• 180gm super fine flour
• 10gm corn flour 
• 15gm cocoa powder
• 50gm icing sugar (reduced from 80gm)
• 50gm/2 medium eggs, beaten


The Making:
1. Sprinkles some flour over a baking tray, set the oven to 180°c.

2. Using a mixer, mix butter with the sugar on high speed until turns pale and fluffy.

3. Slowly add the egg liquid into the mixture and mix well, followed by the flour (add in few batches). You may add the green tea / cocoa powder now.

4. Once the mixture is well mixed, scope them into a piping bag, pipe them onto the tray to form a wreath shape, or any shape as you wish.

5. Bake for 12-15 minutes until the cookies is golden brown.

Let cold and store in airtight containers. These cookies shall be good to keep for 3 weeks.


我家小瓜超爱吃牛油饼干,我原本没打算烘新年饼干,但反正有几天的假期,就给烤炉热一热吧。

超容易但超好吃的,要管成花圈状 (丹麦饼干就是这个卖相!)也行,简单的球状也行,就随你意吧。

A)原味牛油曲奇
•130gm无盐牛油(室温),切成立方体
•200克超细粉
•70gm砂糖
•50克/ 2中型鸡蛋,搅均


B)巧克力牛油饼干
130gm无盐牛油(室温),切成立方体
•180gm超细粉
• 10gm 粟粉
•15gm 可可粉
• 80克 糖粉 (我减至50gm)
•50克/ 2中型鸡蛋,搅均

做法:
1.撒一面粉在烤盘上,将烤箱预热至180℃。

2.使用搅拌机,用高速搅拌奶油与糖,直到奶油发白和蓬松。

3.慢慢将鸡蛋液加入混合物,拌匀后再加入面粉和粟粉您现在可以在此时添加可可粉。

4.把混合物舀到piping管袋,管成花环形状。

5.烘烤12-15分钟,直到饼干呈金黄色即可取出。

待冷却后,存放在密闭容器中。这些饼干可以存放约三周。


Saturday, September 20, 2014

Easy Danish Butter Cookies 简易丹麦牛油饼干


I was a fan of Kjelsens Danish Butter Cookies when I was little, the round blue tin was my childhood luxury. My little ones too love these little cookies, it's buttery soft and have a crunchy texture that is hard to resist. I made these for my old ma yesterday and now it seems this shall be a regular in our kitchen as the duo couldn't stop asking for more.


Well, I know my cookies don't look like  the usual Danish cookies which is like a beautiful wreath; I had an equipment failure with my piping tool so I had to resort to alternative method. While it looks different, it tastes good, really, it literally melts in your mouth.


Noticed that 1 odd shape wreath cookie on the right row? Time to get a new piping set, urgh..

I made some baby head shape ones and popped in some chocolate chips, just for fun.


Tea time
  
I followed the simple Danish Cookies tutorial video shared by Alan. It's really fail-proof, so give it a try!


Preparation Time: 15 minutes 
Baking Time: 7-8 minutes
Serving for: approx. 80 cookies


Ingredients:
1 large egg
200g unsalted butter, room temperature
100g icing sugar (original recipe uses 130g)
320g plain flour, sifted
2 tbsp of vanilla paste or extract

The Making:

1. Preheat oven to 200°c. Place a piece of non-stick baking parchment over the baking tray.

2. Beat the eggs lightly, cut the soften butter into cubes then add all ingredient  in a mixing bowl, mix evenly using a paddle attachment on the lowest speed.


3. Pipe batter onto baking tray using an open star tip to form a wreath. (I rolled mine into ball shape and flattened with a fork.)

4. Bake for 7-8 minutes until the cookies turn golden brown. Watch it closely to avoid the cookies from being burn.

5. Leave the cookies to cool to room temperature for about 10 minutes before transferring them into an airtight container

I popped a few of these little goodies into my mouth before storing them into the jar, the best moment for a baker is to get the first bite!  ;)


Wednesday, February 5, 2014

Crispy Pumpkin Seeds & Almond Flakes Cookies {CNY Special!} 南瓜花籽杏仁脆脆饼

It's CNY! Time to have some healthy snack that is not so high in sugar so can munch on without much guilt. 

I had been really busy spring cleaning, sewing after work and on weekend that I can hardly find time to bake any CNY cookies apart from the almond biscottis which almost finished up by now, I decided to do last minute baking on the CNY eve, just stole 30 minutes from the spring cleaning and finished up this last minute baking.


This is a super simple yet addictive snack you won't want to miss, besides, I can guarantee any kiddos would love this snack. :)

I made 2 flavored - Crispy Pumpkin Seed Cookies and Crispy Almond Flakes Cookies, either one they tasted great!


On the next weekend, I spared 20+ minutes and made these yummies again, this time using Lotus seeds, left over from my snow skin mooncakes.


This glass jar I bought from IKEA is perfect to keep them air tight. Anyway the cookies were all grabbed up by that very evening they were baked. :)


Preparation time: 10 min 
Baking Time: 10-12min
Serving for: 1 baking tray (about 30 6cm x 3cm size cookies)

预备时间:10分钟
烘烤时间: 10-12分钟

Ingredients:
2 Large Egg White / 3 Mediun Egg White 两粒蛋白(大型) / 三粒(中型)
50gm all-purpose flour 50克普通面粉
60g castor sugar 60克白糖
30g butter, melted 30克融化牛油
80g Pumpkin seed / Sunflower Seed / Almond Flakes  80克南瓜种籽/太阳花籽/杏仁片

This is exactly enough for 1 baking tray, if you want to yield more just double the ingredient accordingly.


The Making:


1. Preheat oven to 170°c / 350°F, place a non stick baking sheet over the baking tray. Brush a thin layer of melted butter onto the baking sheet.


2. Whisk egg white in a mixer on high speed until stiff (or really fast if on hand mixer). Add sugar and continue whisking it till well mix .

3. Sieve the flour and butter into the egg mixture, fold in the flour slowly using a spatula (do not over mix)

4. Drop in the pumpkin seeds / almond flakes, mix roughly.

5. Scope the mixture onto the baking tray and spread it as thin as possible using a spatula, drop more seeds if you wish to ensure generous coverage. Bake for 10-12 minutes until it turns golden brown. The longer you bake the crispier it becomes.

6. Remove from oven and let cool on a wiring rack. Tear the baking sheet, break up the cookies carefully and you're done!

Now, keep them in airtight jar before your kids can get their hands onto the cookies, quick!


The ready cookie sheet, i felt like sinking my teeth right into it..

Look how thin it is. The thinner the better (I mean, for this cookie ;)


Useful Tips!
To ensure you can remove the baking sheet easily, spread a thin layer of melted butter or cooking oil over the sheet before pouring the mixture, you can tear off the baking sheet easily.


Alright, it's time to wash up and get ready for the reunion dinner now.. 

I would like to take this chance to wish you and your family a very Happy Chinese New Year & may you be showered wig abundance of good luck and joy!

稍后我会上载中文版食谱,赶着回去团圆饭了。祝各位读者们新年快乐,事事顺意,马年进步!

Monday, January 13, 2014

Cloudette and Star Cookies, Fit for a Junior Pilot!

First post for 2014, finally. :)

I am some what fascinated with cookies decoration these days. Not that I am good at it, nor I have sweet tooth, but I adore pretty cookies with a message underneath.

Like these Cloudette cookies with a smile. It's here to put a smile on your face.

Or these Star Cookies with Captain E's initial. It's a statement of pride for my little Captain. The little stars are for pure munching pleasure.


Or, put them on a lolli stick and you've got a cookie pop ready to shine!


I opted for plain cookie outline this time, instead of flooding them with icing, for simplicity and lesser sugar consumption.. hence less (sugar) = more (healthy).

I used these cake decorating tool and cookie containers that I bought from the local bakery store recently, cheap and handy. Easy to wash and can be reused over and over. If you bake often,do visit a trusted bakery supplies store to get all your gears and ingredients instead of super market, they are usually cheaper and more wider selections. 


That's it, easy peasy cookie decorating fit for beginner.
Cookie decoration, fit for a pilot!
Now these are great addition for my little Captain E's airplane party!

I really love the Perfect every time cookie recipe shared by Bridget from bake at 350. If you have not tried this yet, head over to her site and check this out. You will be amazed to see that cookie decoration is not that difficult after all. It's just a crafty affair.


Happy baking!

Tuesday, December 24, 2013

15 minutes Yule Log Cake (the short cut way!)

I have always love the Yule Log cake since I first saw it in the hotel's Christmas  display when I was a kid. Kind of like a love at first sight :) And of course, gingerbread house too. They were my childhood dream for Christmas celebration.

Yule log cake is a traditional dessert near  Christmas originated from the European countries. It's basically a sponge cake rolled into Swiss roll with buttercream filling and decorated to look like a wood log (hence the name), and with powdered sugar as snow.
For this year, I decided to make a simple Yule Log cake using the cheat way; I admit I was too lazy to bake now that I have resumed work and this month was a month of Christmas crafting. You may head over to Fun With Little Ones to see what I have been busy crafting at night. :)

Anyway, back to the Yule Log Cake. I took a short cut by using store made marble Swiss roll and the left over royal icing that I made for Christmas cookies deco last week. I kept them sealed in the fridge so still taste good and fresh after a week.


Little one helped to put on the naughty santas and snow.


Ingredients:
1 foot long swill roll cake, any flavor if your choice
1/2 cup of royal icing (approximately 120gram). Use store made or wipe up your own with this recipe from Bake at 350.
2 table spoon of icing sugar / Powdered sugar 


The Making:


1. Get ready the cake, fill the  piping gun / piping bag with white royal icing.

2. Squeeze straight rows of the royal icing horizontally across the cake in a slow and steady motion, make sure the cake is fully covered. For the side, use a spatula to help spread the icing evenly.

3. Using a fork, lightly drag lines on top of the royal icing to create wood like texture. Let the log rest in the fridge for about 30 minutes before start decorating. 


4. Decorate the cake with snowman, Santa clause, mistletoes, meringue mushrooms etc, then sprinkle some icing sugar on top with a sieve to create the snow effect.


That's it, you have a nice winter Yule log cake ready for your party! Isn't it simple? ;)

I would recommend to keep it refrigerated for at least an hour before serving, to help the royal icing settles.

After decorating the cake, I used the remaining royal icing to make more Christmas cookies. I did much better this time with the outlining, didn't I?

The freshly baked sugar cookies. Tasted good on its own.


My favorite Christmas trees


The classic gingerbread man


And some colorful stars and hearts.


This shall make a very merry Christmas party for us. 


Fancy to make some Christmas cookies too? Read on more on my earlier post here.

Or the tutorial for the royal icing by Bake at 350 who shared so many recipes and tutorials!


Merry Christmas to you & your family!


Monday, December 16, 2013

Christmas Cookies!

Christmas is approaching, and I thought  we can make some nicely decorated cookies this time. So I research for the different varieties of cookie and decorative icing techniques, then got myself started. Of course, my little chef was not left out, how he looked forward to baking the cookies with me! :)

First time making cookie decoration with royal icing and it turned out... alright. Not glazing smooth and beautiful as I hope they would be, definitely far from professionally decorated ones, but for first timer I can accept this outcome. *self comforting*

A gingerbread man, a golden star and a Christmas tree. 3 classic designs for Christmas.


Took me about 1.5 hour to decorate all these little yummies. It was fun, felt as if I was attending art class back in my school time again, only that the coloring material is fully edible. My handsome and I both licked some icing off our fingers, delish!

Here are the 1st batch of decorative cookies we completed. Kept them completely dry out for an hour before storing them in the fridge. A few ugly ones were excluded from the picture, well, my flooding technique went rather disastrous so pardon me with the ugly golden stars..


The base cookies baked the night before, seriously they taste great just eaten as is. Crunchy and buttery. So glad I found this recipe from Bake At 350. Bridget is really talented in cookie decoration and I must say this is the BEST cookie recipe I have tried so far!

  
These are the cookies decorated with white piping to outline the shape, letting it cool for an hour before we continue with the remaining. They looked quite neat but i wanted something colorful for the holiday feel. Noticed one with broken arm? I have to be more careful next time in handling cookies. *bash*

My little chef was so excited to help up with cookie baking and decorating them. Looking good in his new personal Christmas apron made by mommy, personalised with his name in flying upward manner as he requested.

The batter and the tools I used for baking. Nothing fancy, really. One thing I like about this recipe is that it is really simple and I can cut the dough using the cookie mould without having to pre-chill it. A real time saver.

The homemade royal icing, first time ever attempted and I'm glad it's a success! The color is off white as I added some vanilla essence which tainted it.

I'm going to bring some of these for the Christmas party at my office, and make another fresh batch for later celebration at home. The recipe is enough to make about 40+ medium size cookies and the dough can be chilled for baking later.

Can't wait to give this a try too? Check out the recipe for sugar cookies here. Perfect is my only comment for this recipe. She has the royal icing tutorial too, very informative tips shared.

If you made decorated royal icing cookies too, do share the picture of the cookies you made, will you? *wishful thinking*

Till later, happy holiday!