Aren't these little LEGO Cuppies looking oh-so-cute? Custom designed for my little boy to celebrate his birthday with the classmates.

This special Yellow Lego Man is for my handsome who is turning 6.

Special mix of pastel green & yellow butter cream.

Some Lego girls too for the little girls in his class.


The bare Lego figurines before I painted the facial expressions.

I shape them using these mould I got during a group buy and let the fondant get harden in the fridge compartment for 30 minutes before removing them.

Painted by hand..

Then I added my sugar-reduced butter cream.. you may get the recipe for the butter cream icing here.


These little cuppies are really easy to make once you make friends with fondant icing.

Instead of party bags which often contain candies or unnecessary gift, I prepared these pencil cases with custom print message, "Ethan is 6!". Simple preparation, nothing lavish or OTT.

I showed my little boy the cuppies in the morning. Him and the little sister were super excited and requested to have one each. Luckily I have prepared extra so they happily munched off their Lego cupcakes while on the way to school. Best reward for a night of hardwork = their happy smiles and hugs. :)
Happy birthday my little E.
Be brave.
Be happy.
Be curious.
Just be yourself.
Be brave.
Be happy.
Be curious.
Just be yourself.
Love you always, mommy. ❤️
Pss.. need more idea on cake decoration? Why not check out the following:
Special Lego Cake
Sweetheart and Ballerina Cuppies
Rainbow Cake
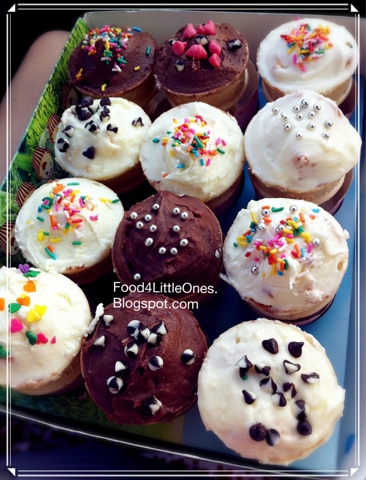
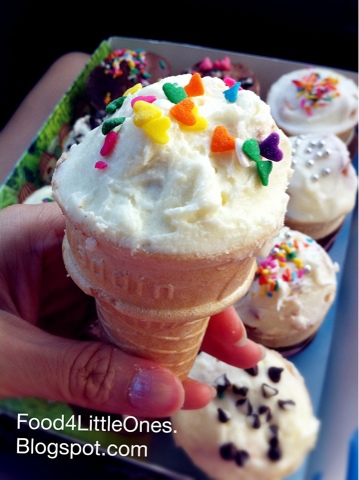
Cupcakes in Ice Cream Cones
Pss.. need more idea on cake decoration? Why not check out the following:
Special Lego Cake
Sweetheart and Ballerina Cuppies
Rainbow Cake
Cupcakes in Ice Cream Cones